
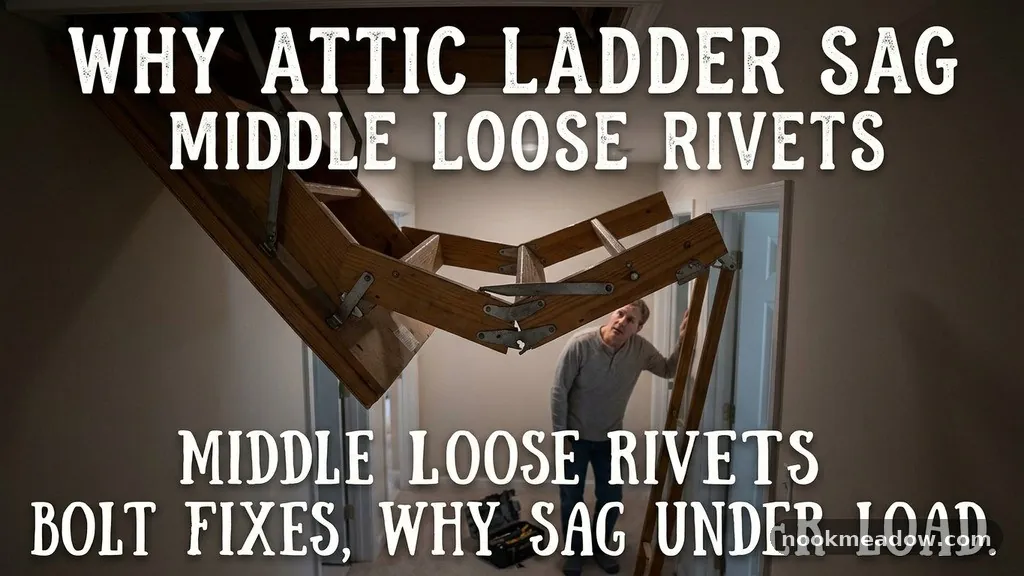
Why Attic Ladder Steps Sag in the Middle (Loose Rivets and Bolt Fixes)?
Addressing why attic ladder steps sag in the middle (loose rivets and bolt fixes) is a critical maintenance task for any homeowner relying on pull-down stairs. When you notice your steps bowing under pressure, it is usually a sign that the structural integrity of the folding stair mechanism has been compromised over time. This issue commonly stems from metal fatigue or the gradual loosening of pivot points that support your weight.
By identifying these mechanical failures early, you can prevent dangerous accidents and extend the life of your access point. This guide will help you understand the mechanics of these failures and provide actionable steps to restore safety to your attic hatch access.
Why Steps Sag Under Load
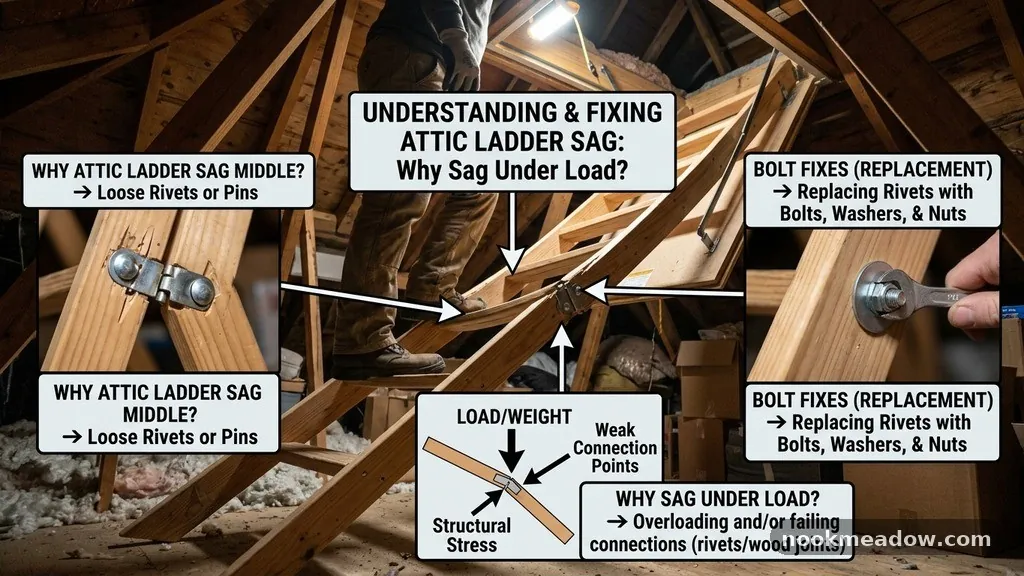
The primary reason for sagging steps in a folding ladder is the degradation of the connection points between the treads and the side rails. Over years of use, the constant cycle of folding and unfolding puts immense strain on the rivets that hold the assembly together.
When these metal fasteners begin to fail, the step loses its rigid attachment to the side rails, leading to noticeable deflection. If you feel the stairs bounce or dip when you step on them, the load-bearing capacity has likely shifted from the frame to the fasteners themselves.
Another factor contributing to this decline is the natural wear occurring at the hinge points. Each time you climb, the weight is distributed across these pivot points, which are often made of soft aluminum or steel.
If the rivets were not perfectly seated during manufacturing, they become susceptible to vibration loosening during every opening and closing cycle. Over time, this creates a microscopic gap that widens with every use, eventually causing the step to hang lower than intended.
Identifying Loose Rivets and Fastener Fatigue
Visual inspection is your best tool for diagnosing why attic ladder steps sag in the middle (loose rivets and bolt fixes). You should look for rivets that have become oval-shaped rather than perfectly circular, as this indicates the metal has been “egged out” by constant friction.
If a rivet head can be rotated by hand or shows signs of separation from the side rail, it has lost its clamping force. This failure is often accompanied by a metallic clicking or grinding sound when the ladder is deployed.
Metal fastener degradation is accelerated by the type of material your ladder is constructed from. Aluminum ladders are particularly prone to this because the metal is softer than the steel rivets, leading to the hole in the rail enlarging over time.
If you see white powdery oxidation around the rivet, this is a clear sign that the joint is no longer tight and is being subjected to moisture and movement. Ignoring these signs can lead to sudden failure during use, which is why periodic checks are essential.
The Mechanics of Bolt Replacement
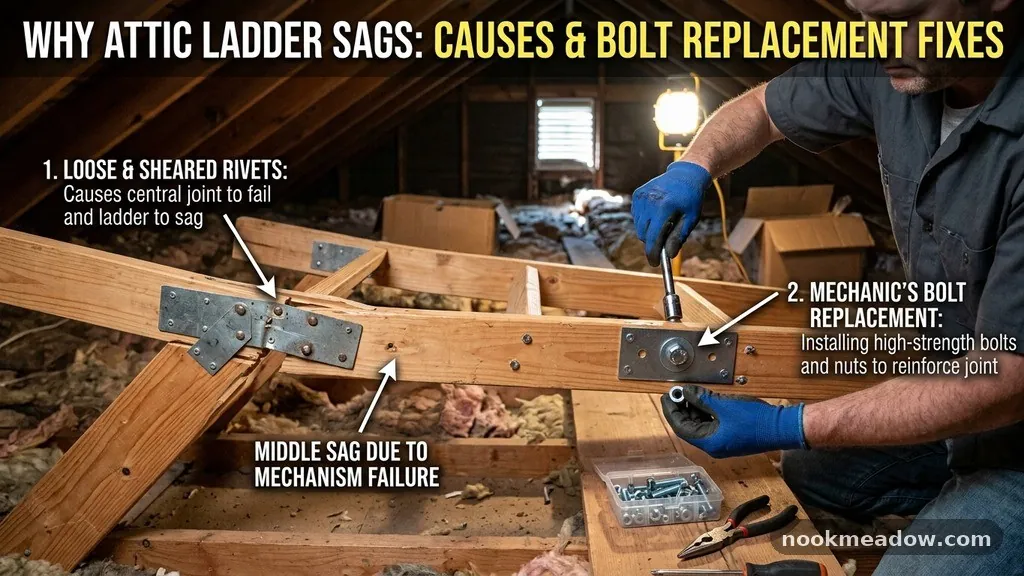
When a rivet fails, you cannot simply tighten it like a screw; it must be removed and replaced with a more robust system. The standard approach is to drill out the old, failing rivet and replace it with a high-grade steel bolt.
This transition is effective because a bolt provides a mechanical clamping force that a rivet simply cannot replicate once the original hole has been compromised. Using a carriage bolt is often the preferred method because the square shoulder locks into the rail, preventing it from spinning while you tighten the nut.
You must choose the correct hardware to ensure the repair is permanent. Using standard hardware store zinc-plated bolts is generally sufficient, but stainless steel is better if your attic is prone to temperature swings or humidity.
You should also consider the length of the bolt; it needs to be long enough to pass through the rail and the step bracket while leaving enough thread for a lock nut. A bolt that is too long can interfere with the folding stair mechanism, so precision in measurement is paramount.
Using Washers for Tension and Stability
One of the most overlooked aspects of fixing a sagging ladder is the use of appropriate washers. When you replace a rivet with a bolt, you create a new pivot point that needs to move smoothly without creating new wear.
Placing a nylon washer between the metal surfaces prevents direct metal-on-metal friction, which reduces the rate of future degradation. This simple addition can significantly improve the longevity of your repair by allowing the hinge to rotate freely without grinding.
If you find that the hole in the ladder rail has become too wide for a standard bolt, a fender washer can provide the necessary surface area to bridge the gap. By distributing the pressure across a wider area of the side rail, you prevent the bolt from pulling through the metal under load. Always use a lock nut, specifically a nylon-insert lock nut, to ensure that the vibration of the ladder being folded does not cause the bolt to back out over time.
Maintenance and Load-Bearing Capacity

Regular ladder maintenance is the best defense against structural issues. You should check the tension of all pivot points every six months, especially if the ladder is used frequently.
If you notice a step beginning to sag, do not wait for it to become a safety hazard; address the loose fasteners immediately. Keeping the moving parts clean and lightly lubricated with a silicone-based spray can also reduce the stress placed on the rivets, as less force is required to operate the folding mechanism.
Understanding the weight capacity of your specific model is crucial for preventing future issues. Every attic ladder is rated for a specific load, and exceeding this limit—even by a small margin—can cause permanent deformation of the steps and rails.
If you frequently carry heavy boxes into the attic, you are likely accelerating the wear on your ladder’s hardware. Consider installing a more robust model or reinforcing existing steps if you require a higher load-bearing capacity for your storage needs.
Comparing Repair Methods
When addressing attic ladder issues, homeowners often weigh the pros and cons of different repair strategies. The table below outlines how common solutions compare in terms of effort, durability, and cost-effectiveness.
| Repair Method | Durability | Effort Level | Best Used For |
|---|---|---|---|
| Replacing Rivets | Low | High | Restoring original factory look |
| Bolt and Nut Upgrade | High | Medium | Fixing sagging steps and loose joints |
| Step Reinforcement | Medium | Low | Adding temporary support to weak treads |
| Full Ladder Replacement | High | High | Severe structural failure or old age |
Steps for Safe Installation
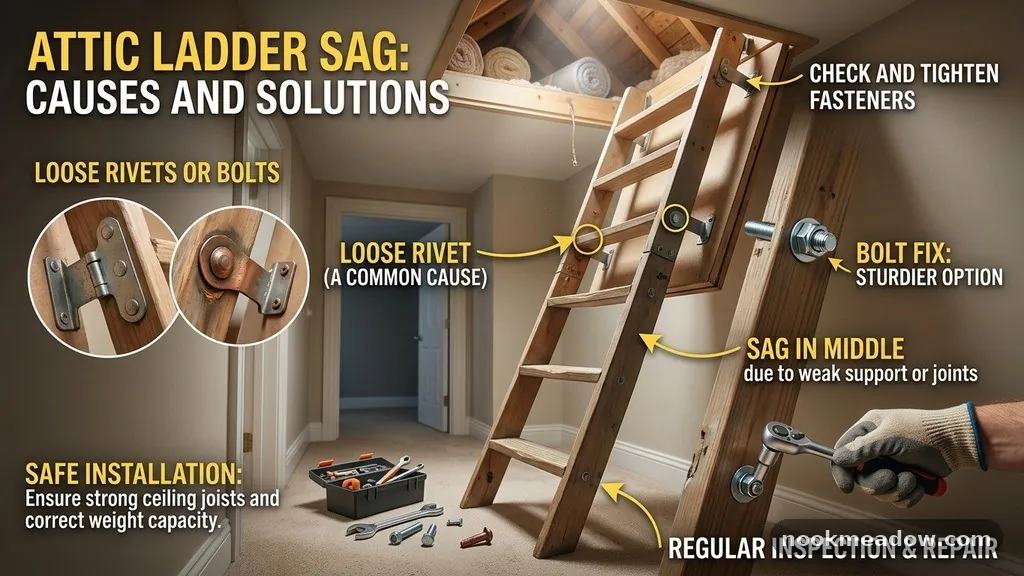
To perform a professional-grade repair, start by securing the ladder in the open position. You may need a second person to hold the weight of the section you are working on to ensure the hole remains aligned.
Use a drill bit that is exactly the same diameter as your new bolt to avoid creating unnecessary play in the joint. It is always better to start with a slightly smaller bit and step up if needed, as a tight fit is preferable to a loose one.
Once the hole is drilled, insert the carriage bolt and ensure the square head is fully seated. Apply the nylon washer to the bolt before sliding the bracket into place, then follow it with another washer on the outside of the bracket.
Tighten the lock nut until it is snug, but be careful not to overtighten. The joint should still be able to pivot smoothly; if it is too tight, the ladder will bind and become difficult to operate.
Safety Considerations During Repairs
Working on an elevated platform requires strict adherence to safety protocols. Never attempt to repair a ladder while you are standing on it; always work from a separate, stable step ladder positioned to the side.
Ensure that the attic hatch access area is well-lit so you can clearly see the condition of the metal fasteners. If you see signs of extreme metal fatigue, such as cracks radiating from the rivet holes, do not attempt a simple bolt fix.
In cases of severe structural degradation, the metal may no longer be strong enough to hold a new bolt. If the rail appears compromised, it is time to consider replacing the entire unit rather than attempting a patch job.
The safety of those using the ladder is far more important than the cost of a new assembly. For more information on maintaining home access points, you can visit the International Association of Certified Home Inspectors for professional guidelines on ladder safety.
Tools Required for the Job
Before starting your repair, gather the necessary tools to ensure the process goes smoothly. You will need a high-quality variable-speed drill and a set of cobalt drill bits designed for metal.
A set of box-end wrenches is essential for tightening the lock nuts in tight spaces where a socket wrench might not fit. Having a file on hand to smooth out any sharp edges left after drilling is also a good practice to prevent future cuts or snags.
- Variable-speed power drill with metal-rated bits
- Grade 5 or Grade 8 steel bolts (carriage style)
- Nylon-insert lock nuts to prevent vibration loosening
- Nylon washers to reduce friction at pivot points
- Safety glasses to protect against metal shavings
- Adjustable or box-end wrenches for final tightening
Frequently Asked Questions
How can I tell if my attic ladder is beyond repair?
If the side rails show deep cracks, significant bending, or if the metal is crumbling around the rivet holes, the structural integrity is permanently compromised. In these instances, patching the ladder with bolts will not provide the necessary safety, and a full replacement is required.
Are there specific bolts I should use for this repair?
Yes, you should use carriage bolts whenever possible because the square shoulder prevents the bolt from rotating during operation. Ensure they are made of steel or stainless steel for maximum durability and strength under load.
Do I need to replace all the rivets at once?
It is not strictly necessary to replace every rivet, but if one has failed, the others are likely experiencing similar levels of fatigue. It is often a good idea to perform a “preventative” upgrade on the most heavily stressed pivot points during your repair.
How do I prevent the new bolts from coming loose?
The key is using nylon-insert lock nuts, which are designed to grip the threads firmly and resist loosening from vibration. If you find the bolt still moves, a drop of blue thread locker can provide additional security without making the assembly permanent.
Is it common for wood attic stairs to sag as well?
Wood stairs sag for different reasons, usually involving moisture rot or split joints rather than metal fatigue. If you have a wooden ladder, check for cracks in the grain and loose glue joints instead of focusing on rivets and bolts.
Conclusion
Fixing a sagging ladder is a straightforward process when you understand the mechanics of why attic ladder steps sag in the middle (loose rivets and bolt fixes). By swapping compromised rivets for high-quality steel bolts and utilizing nylon washers, you can restore the stability and safety of your folding stair mechanism. Regular maintenance and a proactive approach to hardware care will ensure that your attic access remains reliable for years to come.
Do not ignore the warning signs of structural wear, as a small investment in hardware today can prevent a major accident tomorrow. If you find that the metal rails themselves are damaged beyond simple bolt repair, prioritize replacing the unit to keep your home safe and accessible.